With Auto-assign, you can set up specialized teams in eBanqo messenger that handle specific requests. Customers are routed to these teams based on the criteria you choose. Currently, on eBanqo Messenger, those criteria are:
- Department
- Issue type
- Branches
- Channels
- Customer type
Setting a routing criteria
To set your routing criteria:
1. Go to configurations > auto-assign
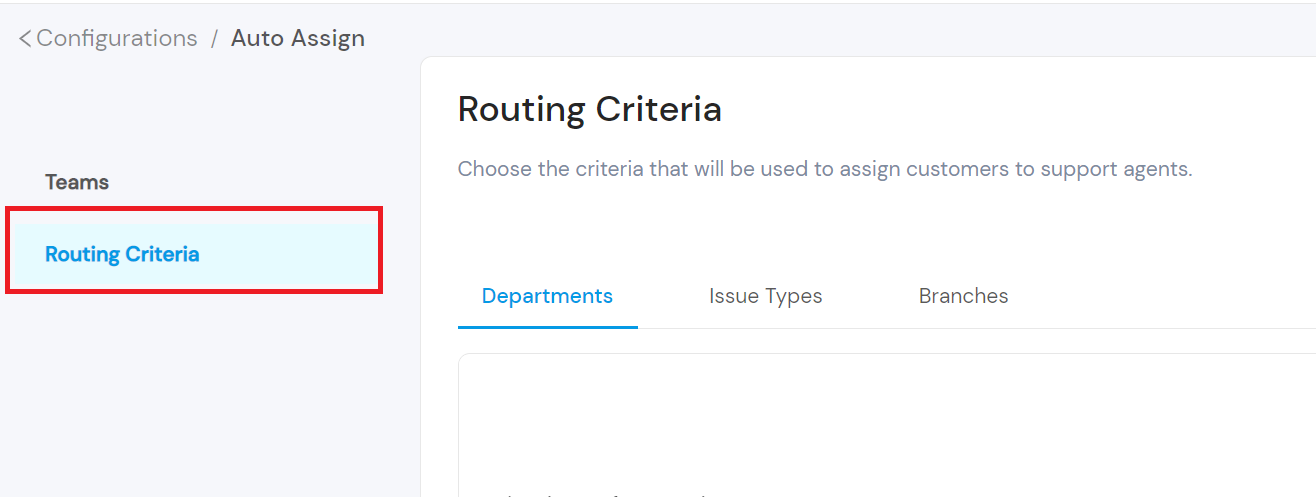
2. Click on routing criteria
3. You can choose from any of the routing criteria: department, issue type, branch.
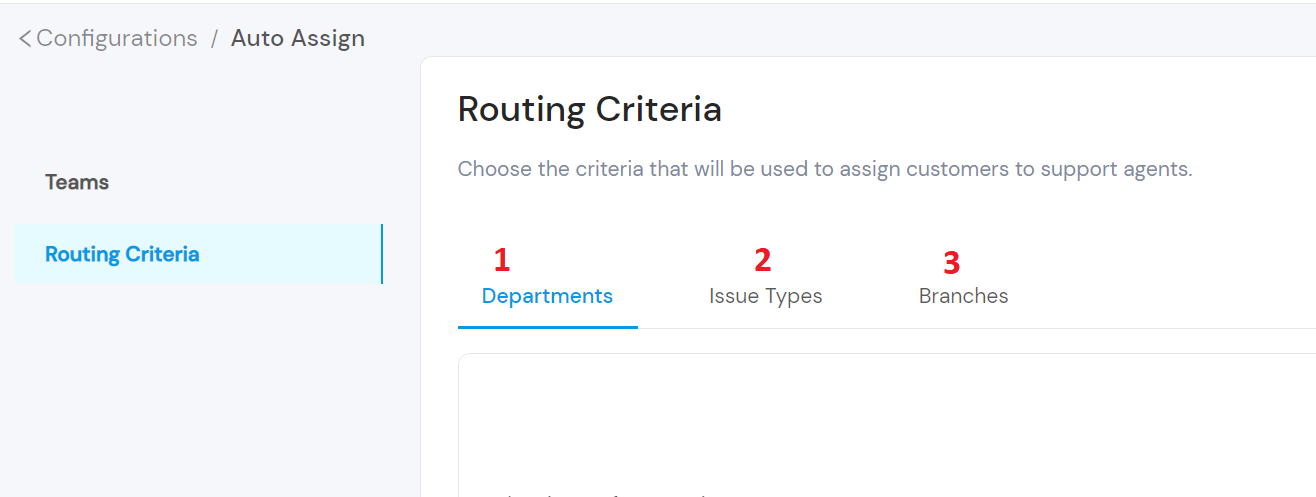
4. Move your mouse over your preferred criteria and click on create issue type

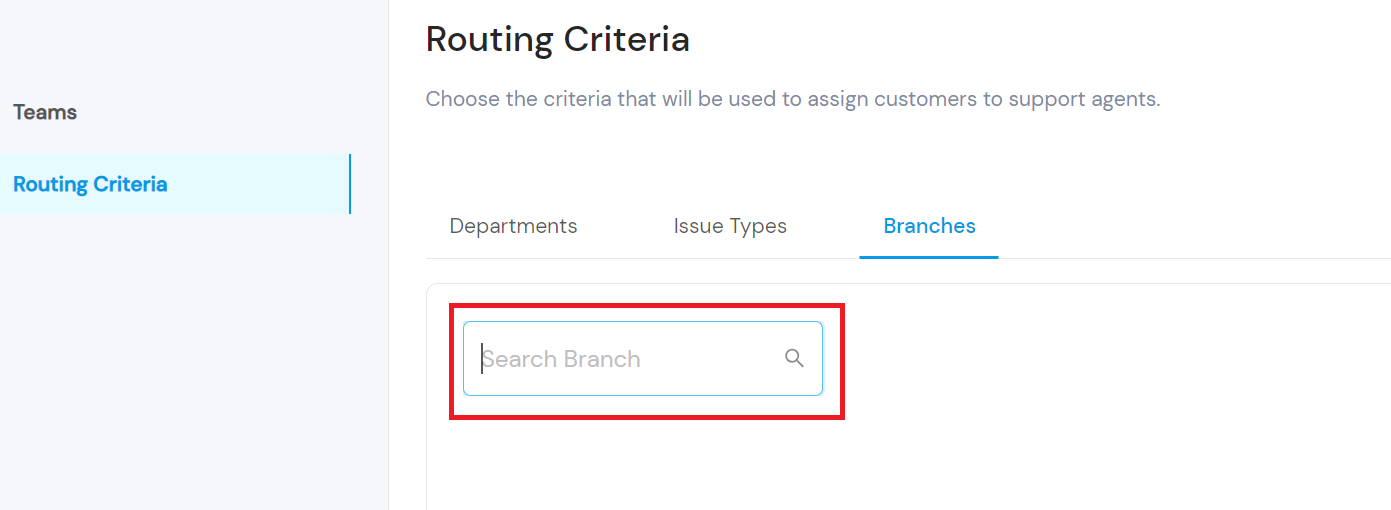
P.S. Create issue type is used here because the selected routing criteria is Issue type. If you select Department, it will be create department. For Branch, you will be prompted to search for a branch like shown below. Please note that the branch criteria is only available for customers using Google’s Business Messages channel.
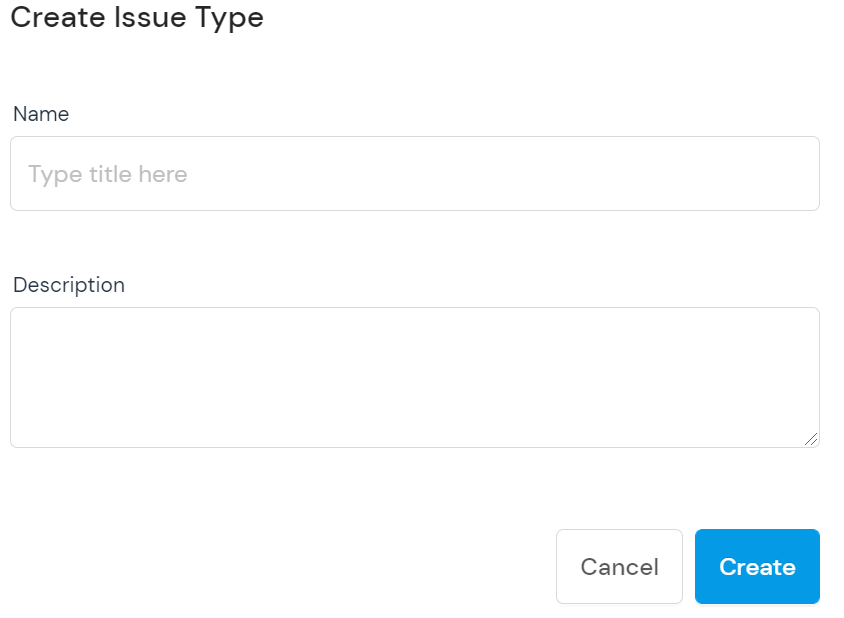
5. Fill in the title of the issue and a short description
How to create a team
After setting your routing criteria, the next step is to create your team. Click on Teams

Next, click on create new team

A modal opens. Fill in the information in the modal.
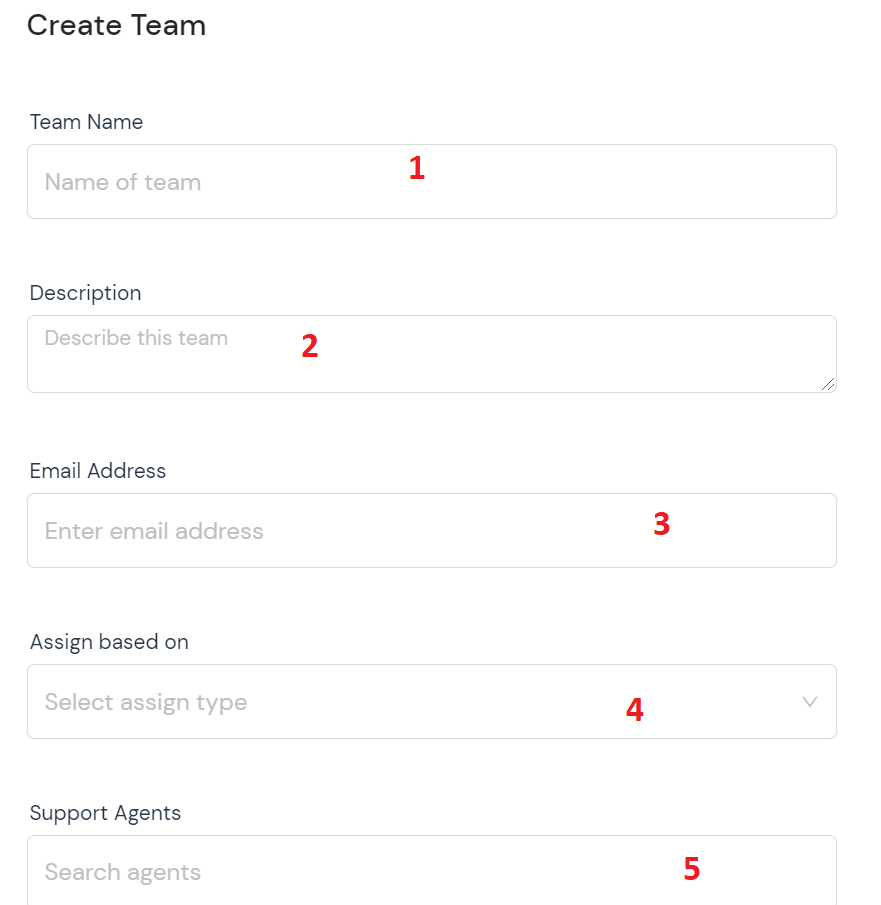
- Fill in the name of your team
- Provide a brief description of the team
- Fill in your email address
- Click on the drop-down and select the criteria you’re using to assign (assigning criteria is department, issue type, branch, channel and customer type)
- Search for the agents you want to add to the team. (Note that these agents must be eBanqo Messenger users)
How useful was this post?
Click on a star to rate it!
Average rating 5 / 5. Vote count: 3
No votes so far! Be the first to rate this post.
We are sorry that this post was not useful for you!
Let us improve this post!
Tell us how we can improve this post?