Skip to content

How to set up your eBanqo Messenger Account

How to set up your eBanqo Messenger Account

3.7
(3)

Setting up your eBanqo Messenger account requires you to create your chatbot, connect your channels and paste the widget on your site. Here’s how to do this:

Signing Up

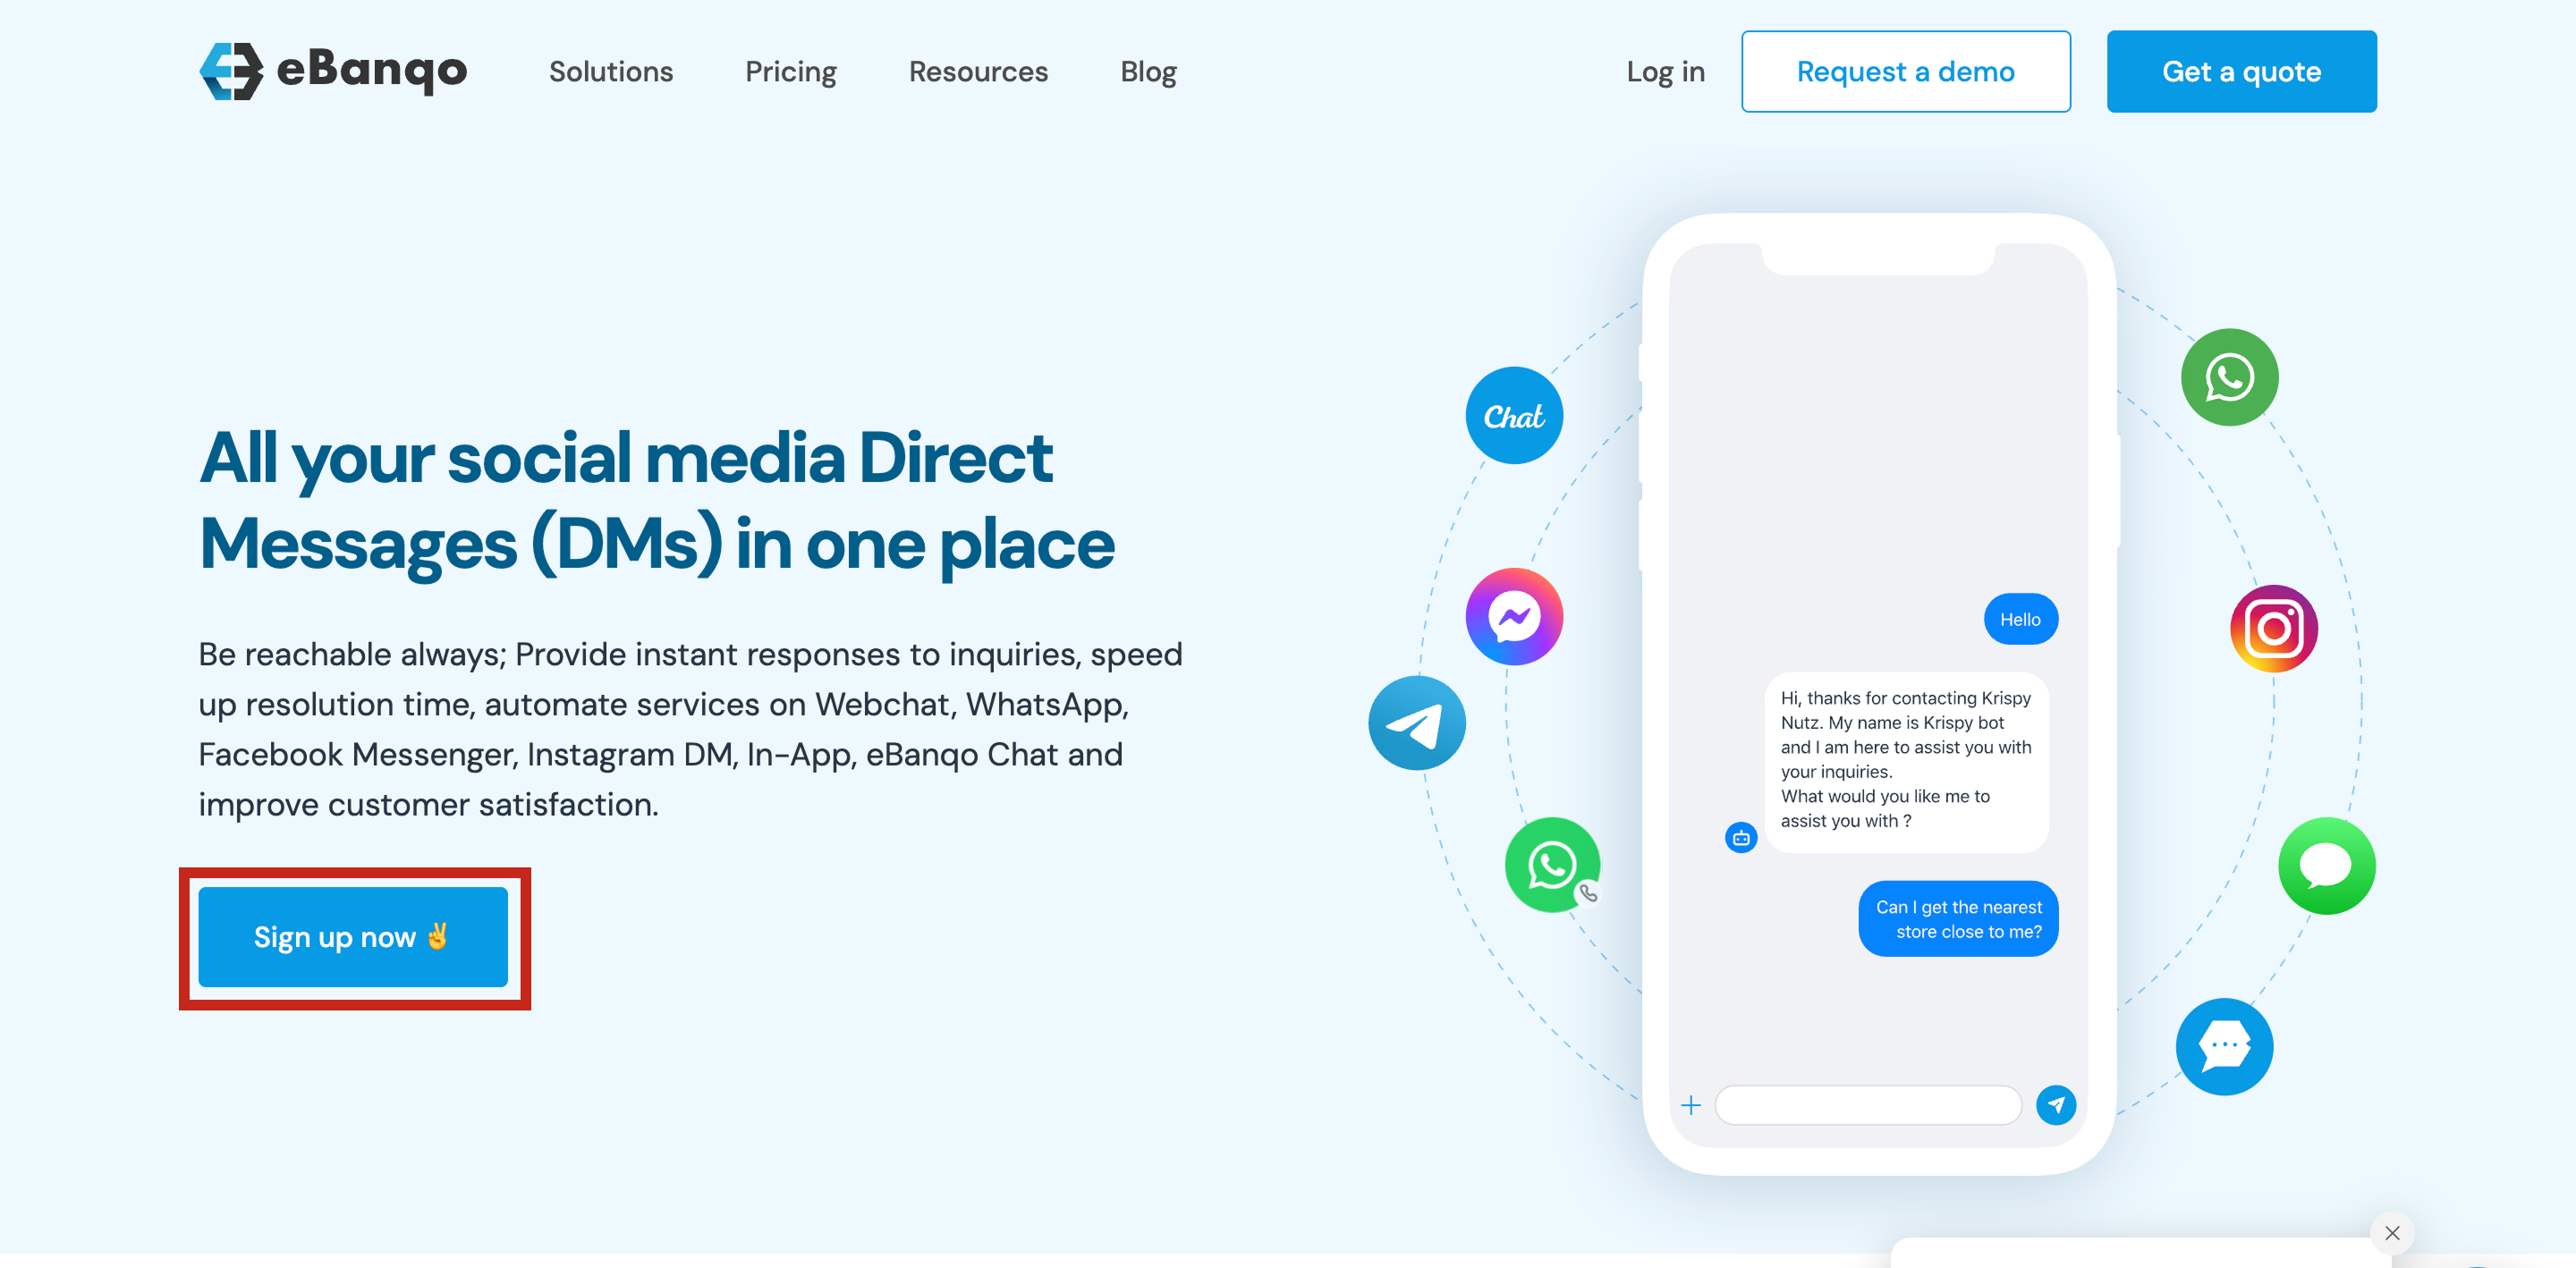
1. On the website, click on try for free or start your free trial.

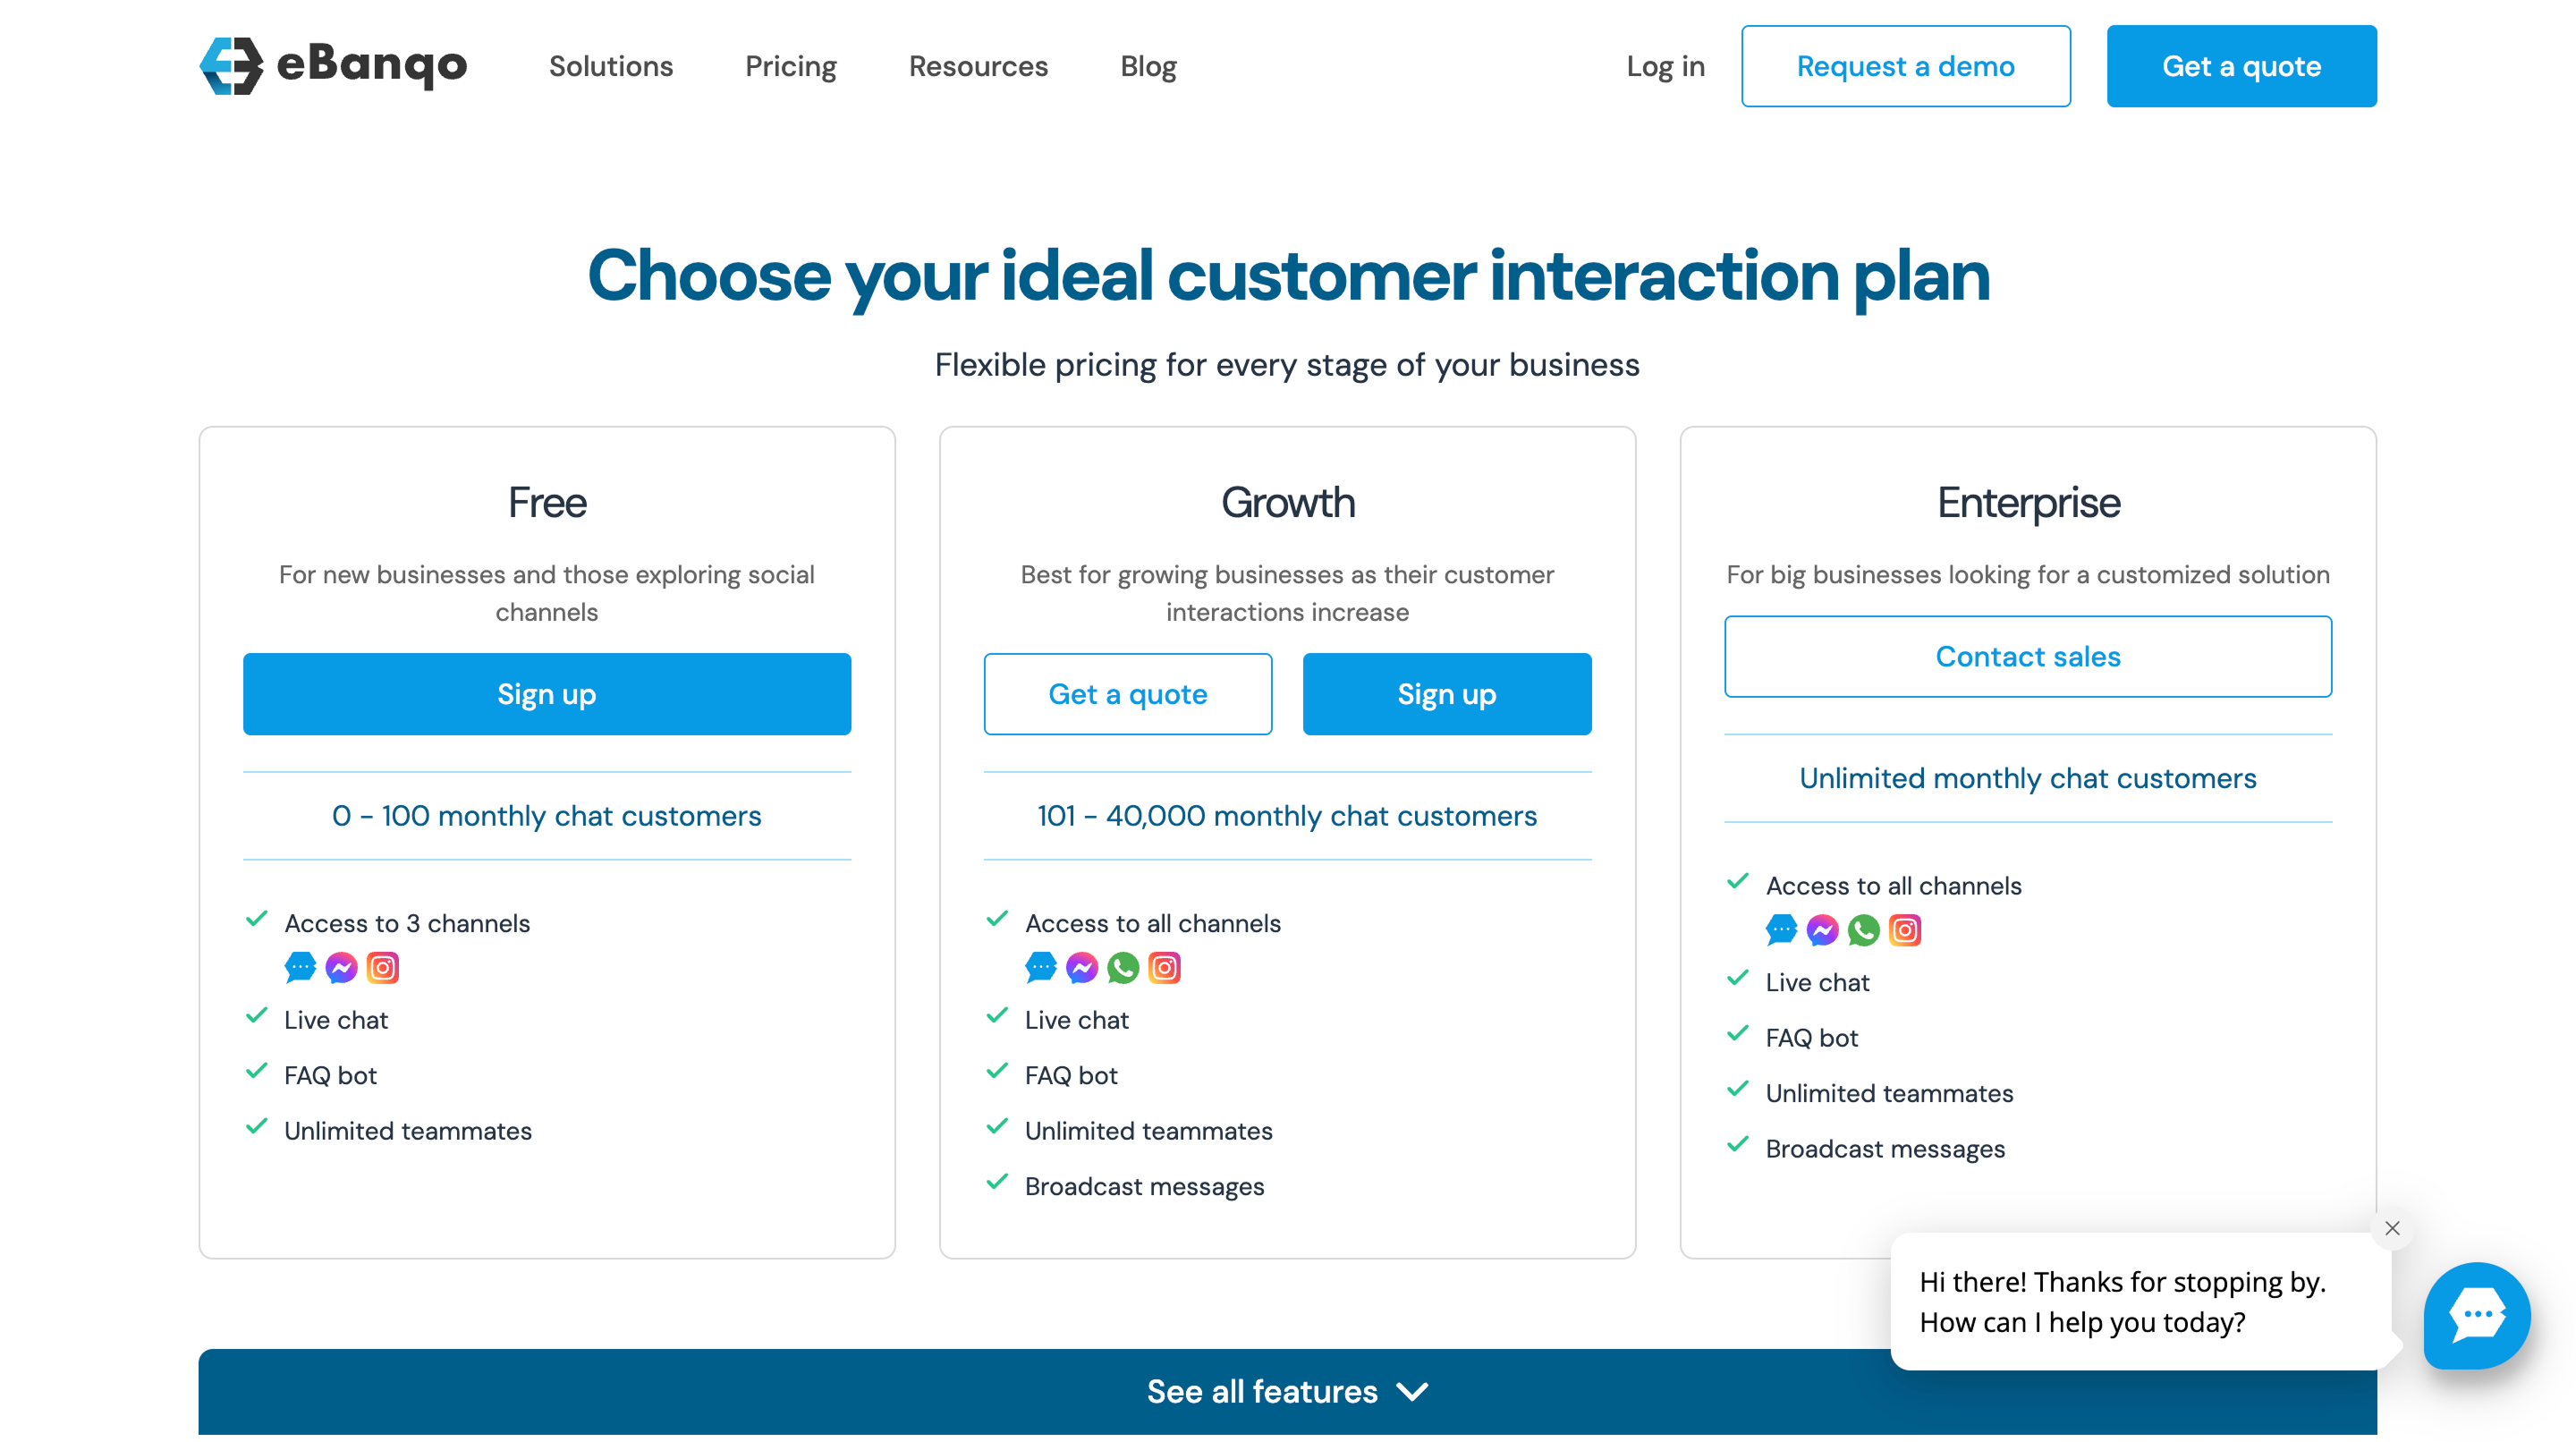
2. It opens the page below where you pick the perfect plan for your business. Note that you can only choose between the free and Growth plan. Click on Enterprise plan if you want a custom solution.

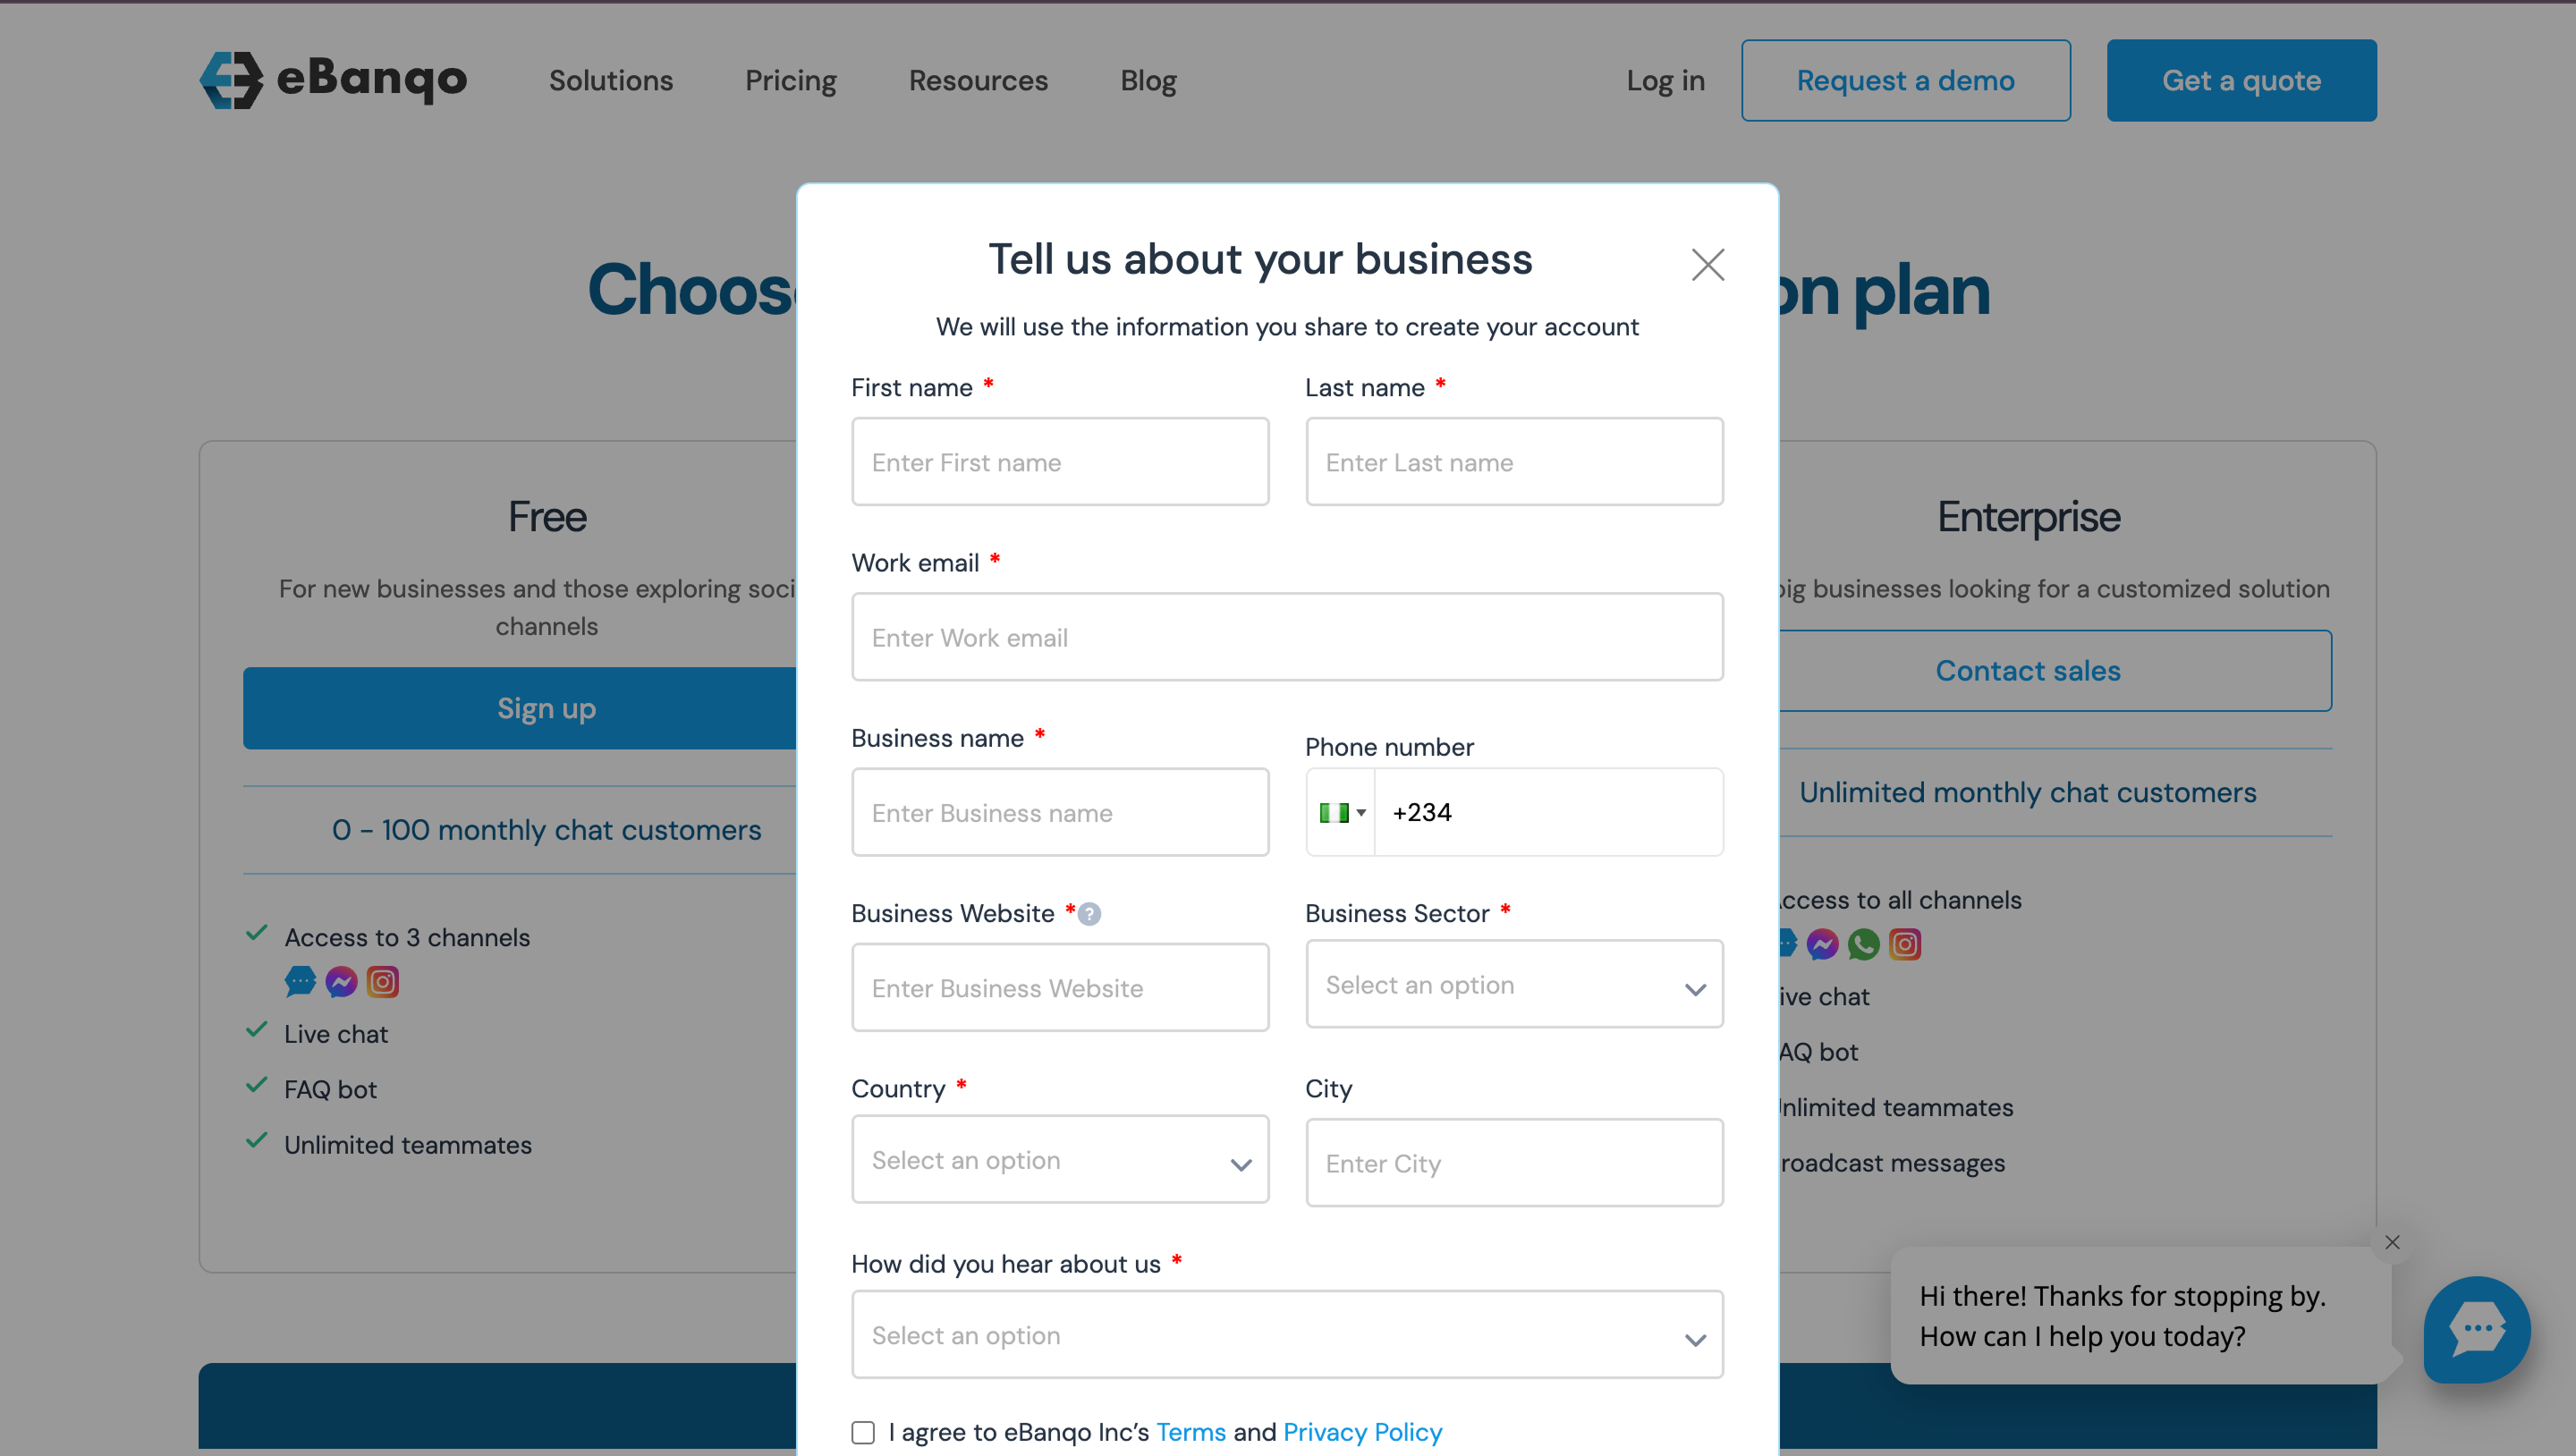
3. After choosing your preferred plan, provide your business information

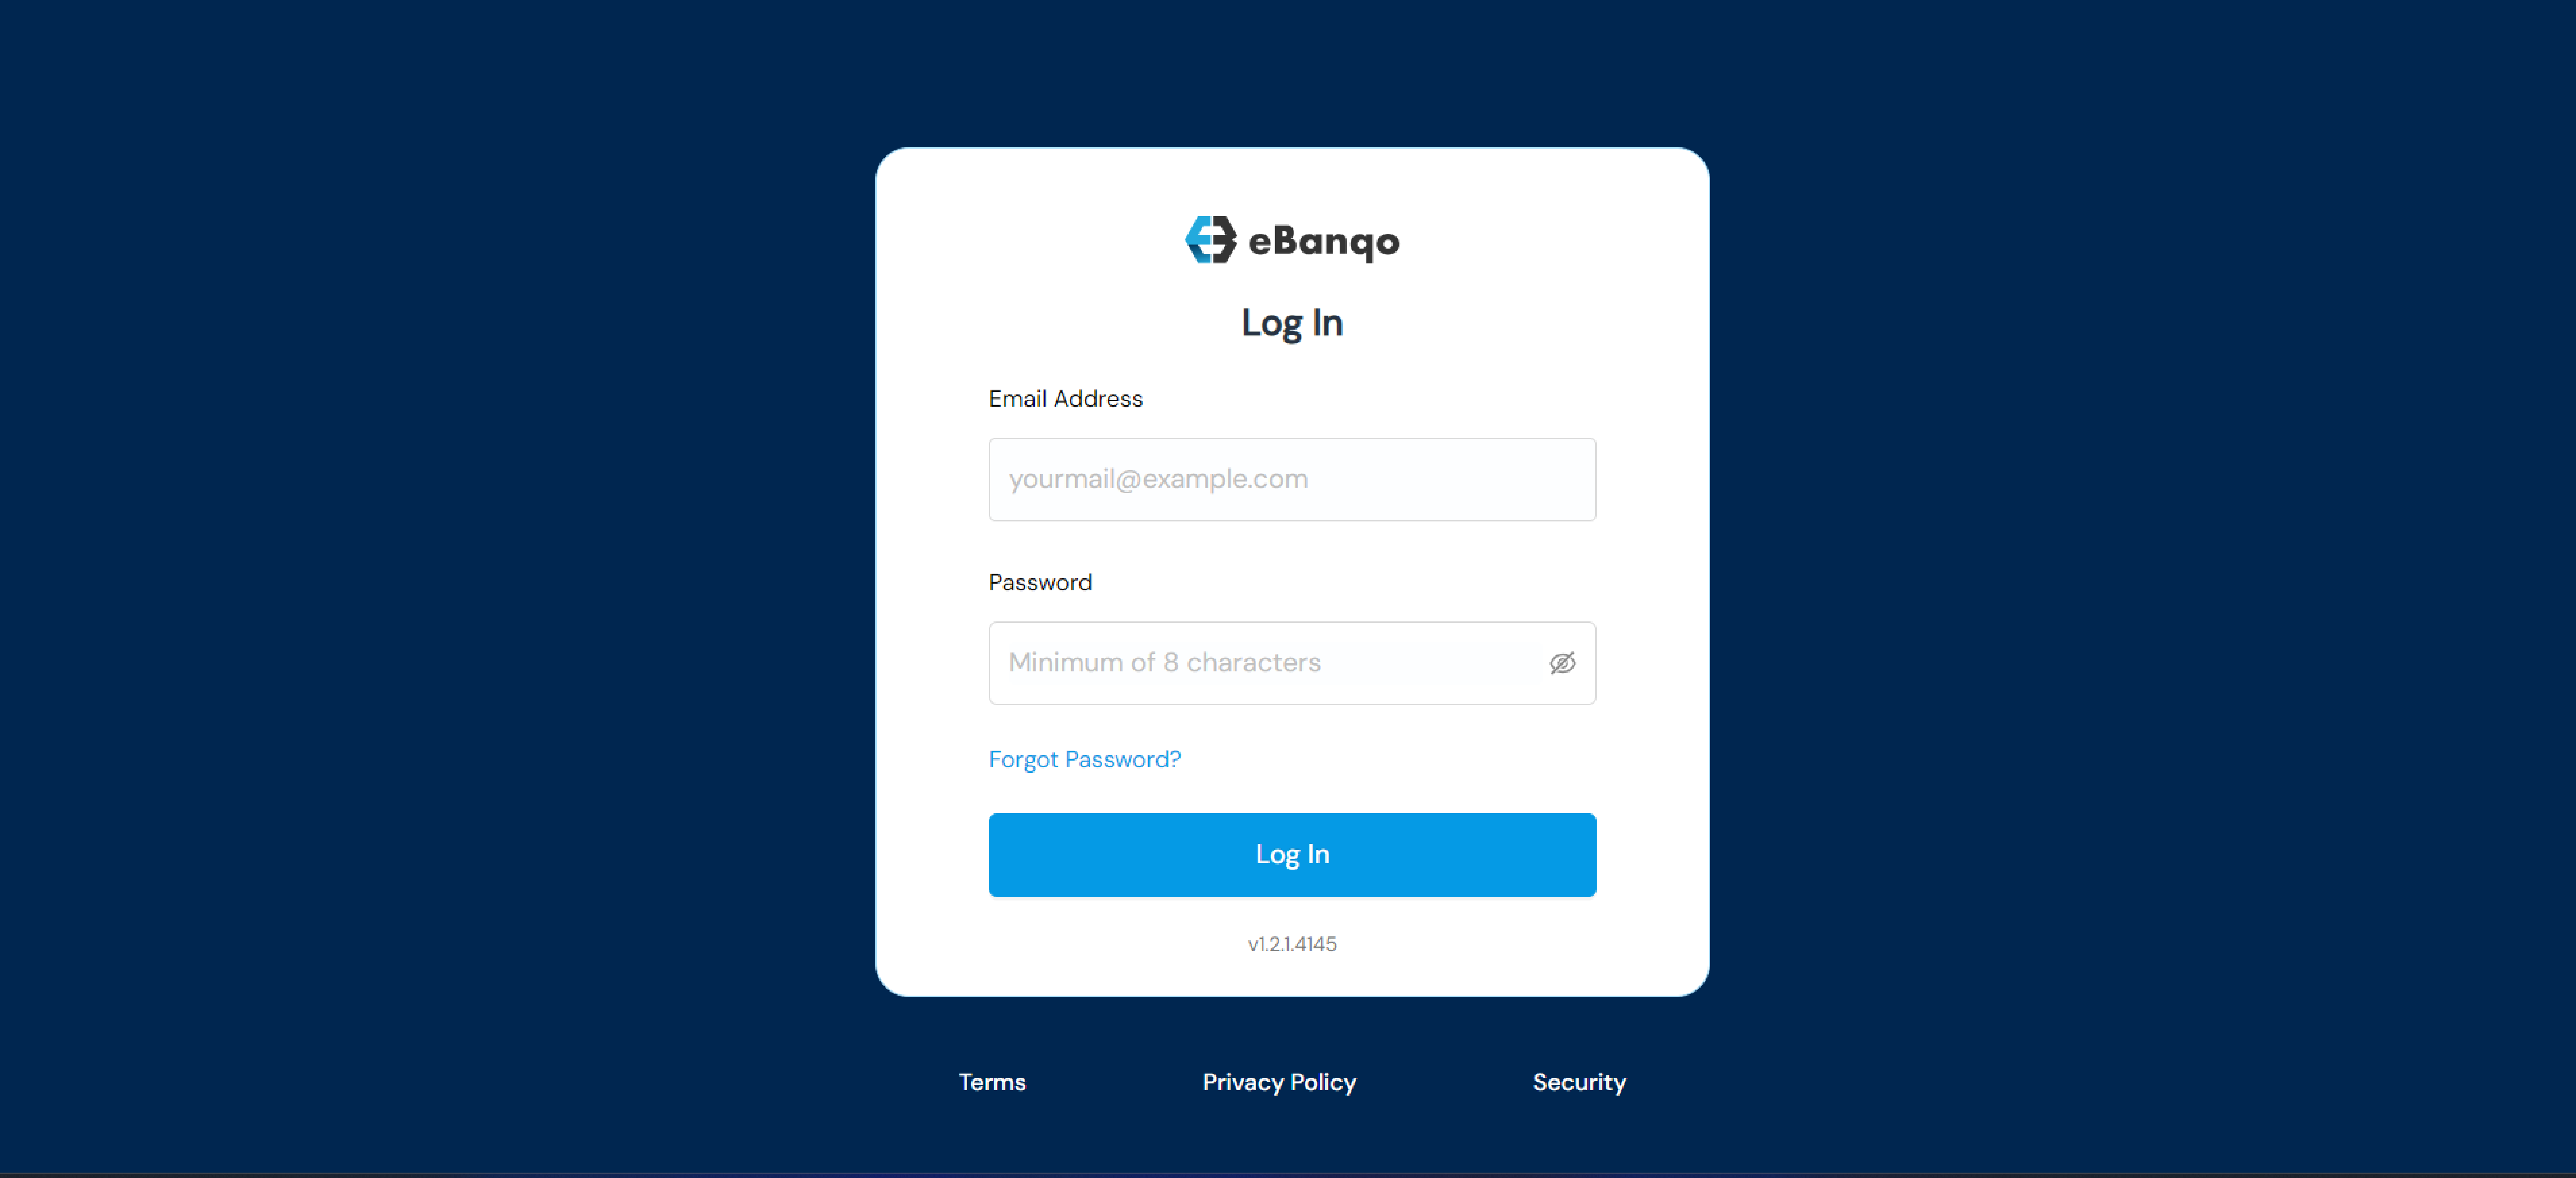
4. After providing your business information, a verification email will be sent to you. Click on the link to verify your email, set your password and log in. After that, you can begin to set up your account.

5. To help you get the best out of eBanqo, a short questionnaire will be presented to you, asking you your purpose for choosing eBanqo. Fill the questionnaire and proceed

6. You’ll be taken to the sign-in page where your username and password has already been provided. Sign in and continue to set up your first chatbot

Creating your chatbot

There’re five steps when setting up your chatbot: change the bot logo, add your bot name. provide an email for support notification, select your timezone and create your welcome message. Here’s how to do them below:

Step 1: You have the option to change your bot image or leave the avatar as it is.

Step 2: This is where you give your chatbot a name. This is the name it’ll introduce itself as whenever it displays your welcome message

Step 3: Provide the email where you want all support notifications such as when someone joins a queue or drops a complaint to be sent to.

Step 4: In step 4, you select your time zone

Step 5: As you can see in step 5, there’s already a default welcome message. If you’d like to create yours, click on the box to delete the existing one and type in yours. Remember to use the placeholder {{ }} if you’d like to include information like your bot name, customer’s name, email and so on.

Click continue when you’ve completed this part.

Add FAQs

One of the responsibilities of your chatbot is to provide answers to questions 24/7. It retrieves these answers from your knowledge base. To ensure that it’s able to answer a lot of questions, add questions and answers to your knowledge base. Note that there is no limit to the number of questions and answers you can add.

The platform comes with default questions as you can see below.

Click on each to provide the right answer. You can also add more or proceed with only the ones provided by the platform. If you do the latter, remember to update your knowledge base once you’re life.

You also have the option to include Ask a Question in your main menu. To do this check the box beside Ask a Question. We advise you do this.


Set up your preferred channels

Here, you choose the channels you want to connect your chatbot to. The webchat is selected by default. You can add other channels like Facebook, Google’s Business Messages, Twitter and WhatsApp.


Set up your webchat

Step 1: In the first step, you upload your business logo. This logo will be at the header section of your web chat as shown below.

Step 2 and Step 3: Here, you adjust the width and height of your logo. You can either type in your preferred size or use the toggle below to select your preferred size. As you adjust your logo size, keep an eye on your logo at the header section(indicated by the downward arrow). It shows you the appearance of your logo as you adjust.

Step 4: Select your header and button colour as shown below.


To select your header colour, click on background colour and select your preferred colour

Step 5: This is your preferred text colour. Just like you did for background colour, click on colour you want your texts to be in.

Step 6: In this final step, you write your widget pop up message. This is different from your welcome message. The welcome message is the first message customers get from your bot when they start chatting with it. The widget message is more like a callout that invites customers to click on the widget to begin a conversation. The widget message precedes the welcome message.

There’s a default text on the box already. You can either leave it or delete it and put yours.

Click on save to save your changes.

Connect your Facebook Messenger

To place your chatbot on your Messenger account, click on Facebook Messenger and click on continue with Facebook.

1. Click on Continue with Facebook to place your chatbot on your Facebook account

2. You will see a notification like the one below.

click on continue as.. If you’d like to change your account, click on log into another account

3. Next, select the Facebook page you want to attach the chatbot to


4. After selecting the page, you’ll see this confirmation page.

Click on done.

5. You’ll see a confirmation message, telling you that you have linked your Facebook account to eBanqo

Click ok to go back to your eBanqo Messenger account

Set up your WhatsApp

1. Select WhatsApp from the channels as shown below

2. Provide your business details in the form

Note that the form is already prefilled with the information you provided at signup. If you want to edit, click on the text box.

3. Click continue to fill the next two forms.

4. On the second page, you provide your business name and vertical, upload your WhatsApp profile photo, provide your address, Facebook page URL, and language. When you’ve done this, click on the continue button to fill the last page.

5. On the last page, you provide your Facebook Business Manager ID, provide your WhatsApp number, and your WhatsApp display name.

If you need help with any of the above, you can click on the blue link beneath each of the text boxes for guidance.

6. Next is the preview page. Here’ you review all the information you’ve added and make edits where necessary. If you’re satisfied, you click on submit


7. After submission, you’ll get a success message. Once WhatsApp approves your request, you’ll get an email on next steps.


Set up your Google’s Business Messages Channel

Google’s Business Messages enables you to deploy your chatbot on Google Map and Search. Here’s how to set up your account:

1. Click on Google’s Business Messages


2. Fill in your contact and brand details and upload your logo. Then fill in your website address, put your privacy policy url and alternative phone number.

3. When you get to worldwide, If your business operates worldwide, check the box beside this business operates worldwide. If your business doesn’t, leave the box unchecked and select the countries you operate in.

4. When you get to locations, you have two options: to enter your business locations manually or to use OAuth.

Using OAuth

When you use Oauth, eBanqo fetches your verified business locations on Google. To complete this process, you must have direct admin access to your Google My Business account.

Enter business locations manually

Here, you type in your business locations manually. This option is best if you don’t have direct admin access to your Google My Business account or any verified locations. You can add multiple addresses here.

5. Click on preview when you’re done to proofread your information

6. If you’re satisfied with your entries, click on submit

7. You’ll receive an email when your account is approved.


How useful was this post?

Click on a star to rate it!

Average rating 3.7 / 5. Vote count: 3

No votes so far! Be the first to rate this post.

We are sorry that this post was not useful for you!

Let us improve this post!

Tell us how we can improve this post?